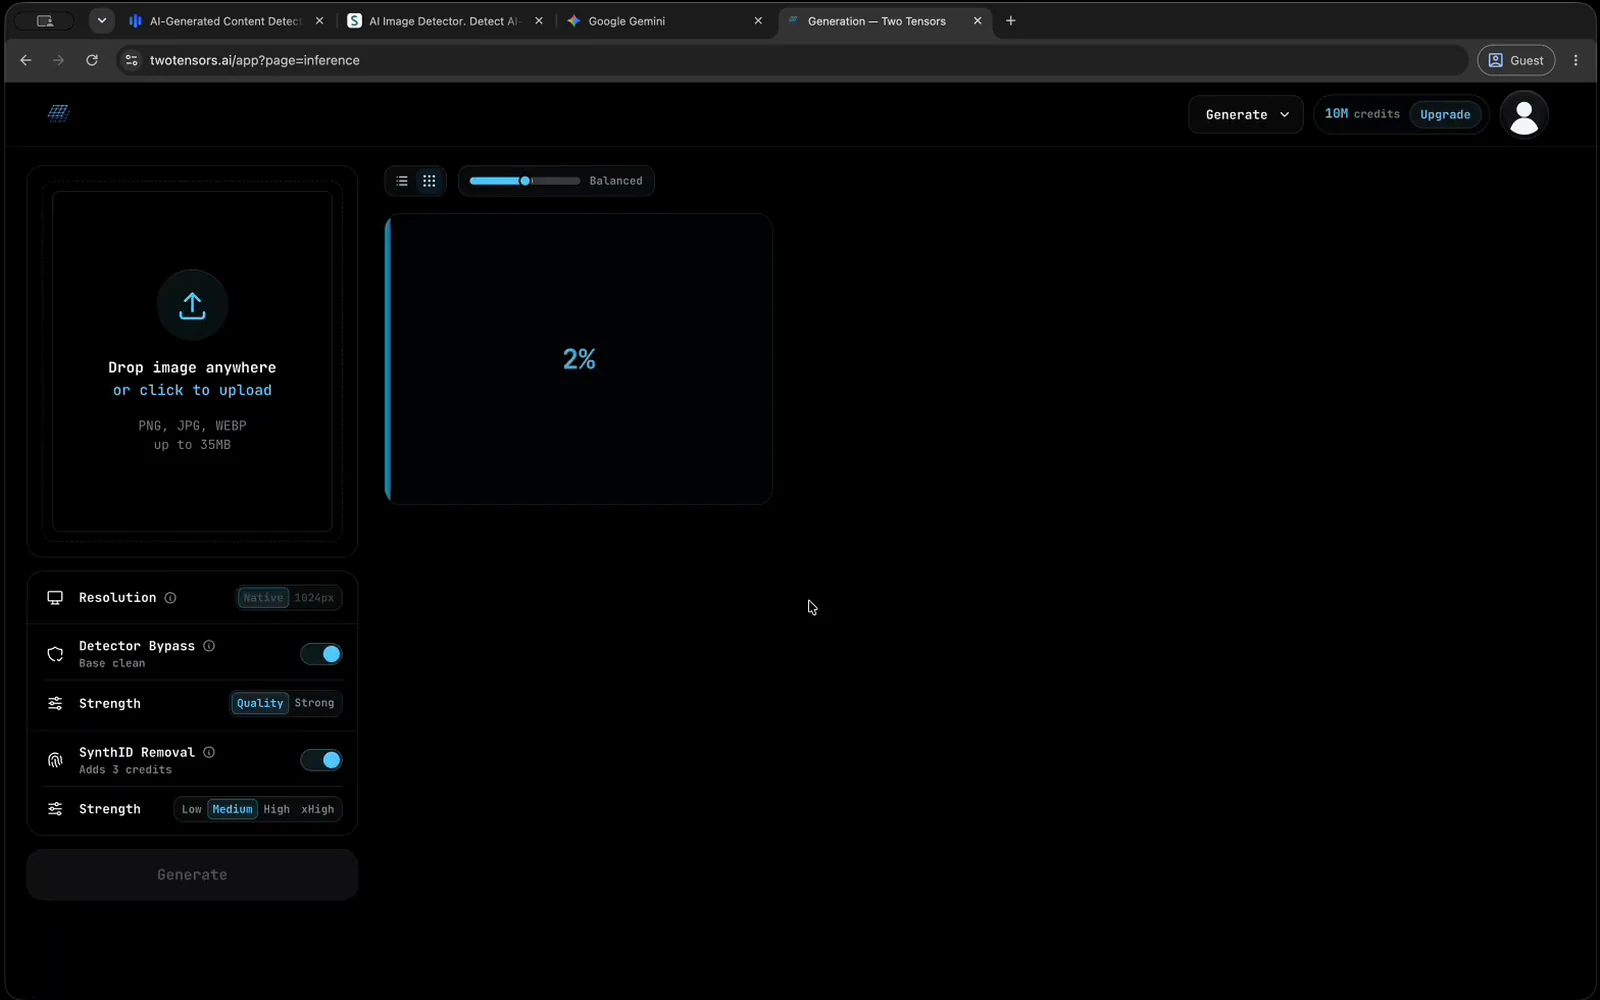
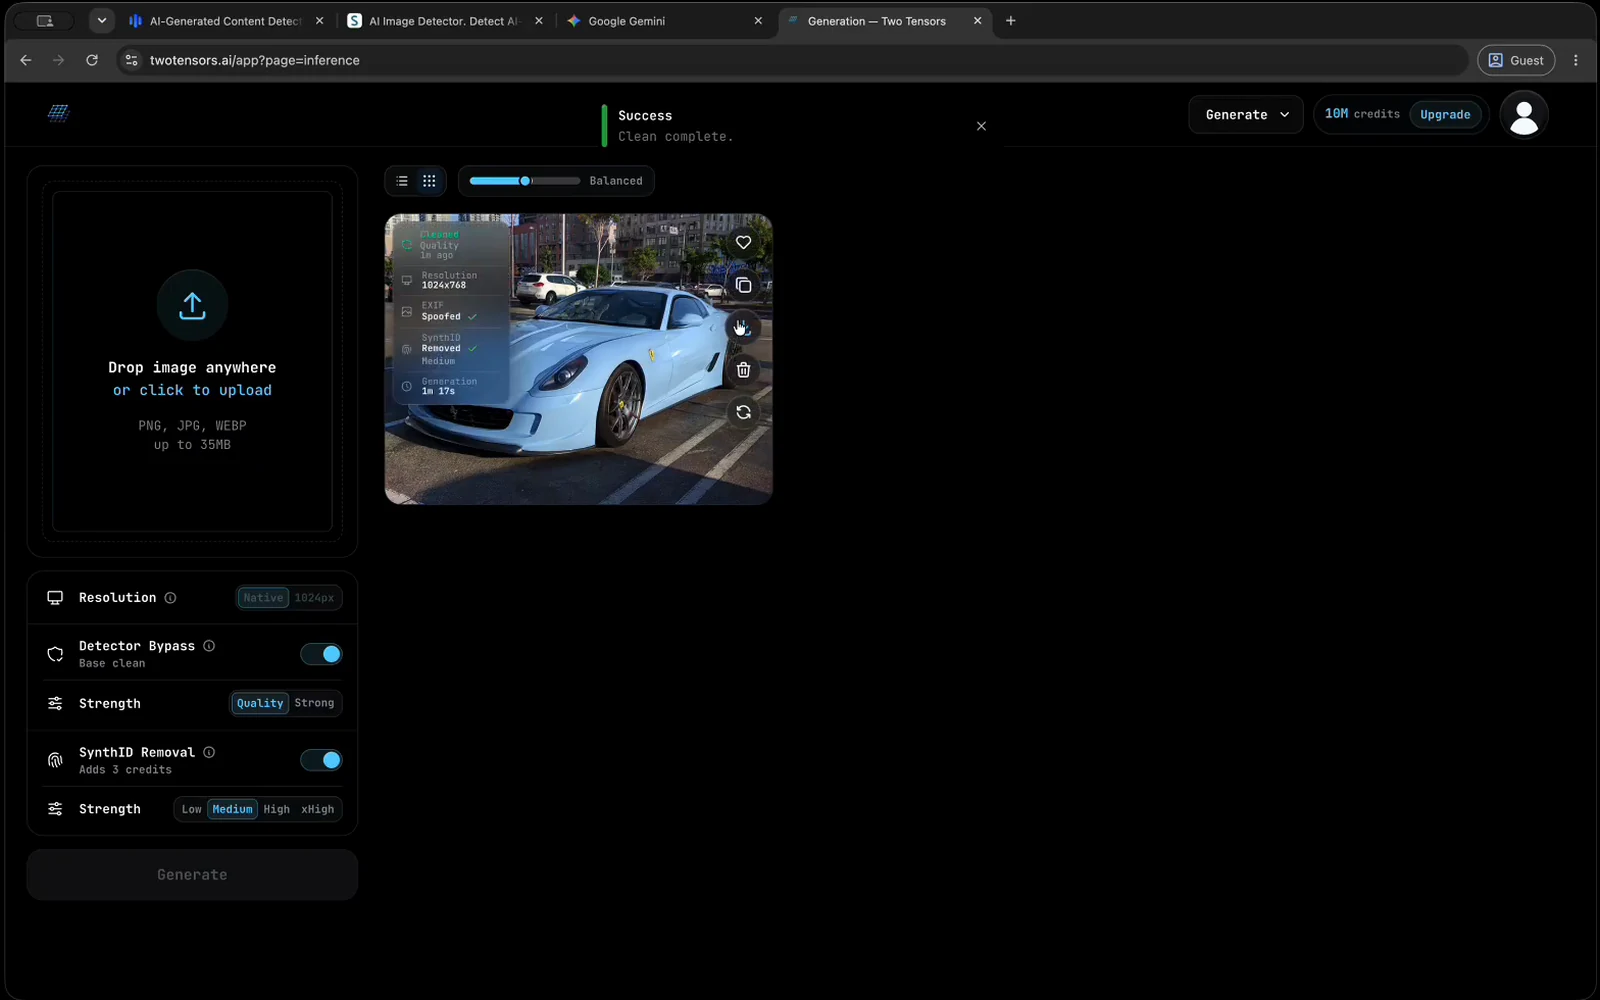
Confirm you are testing the exported file and not the original, which happens more often than you would expect. If it is the cleaned file, try the 1024px downscale first, then Strong mode, then a second detector. Scores disagree widely between services, and a single flag is not a verdict.
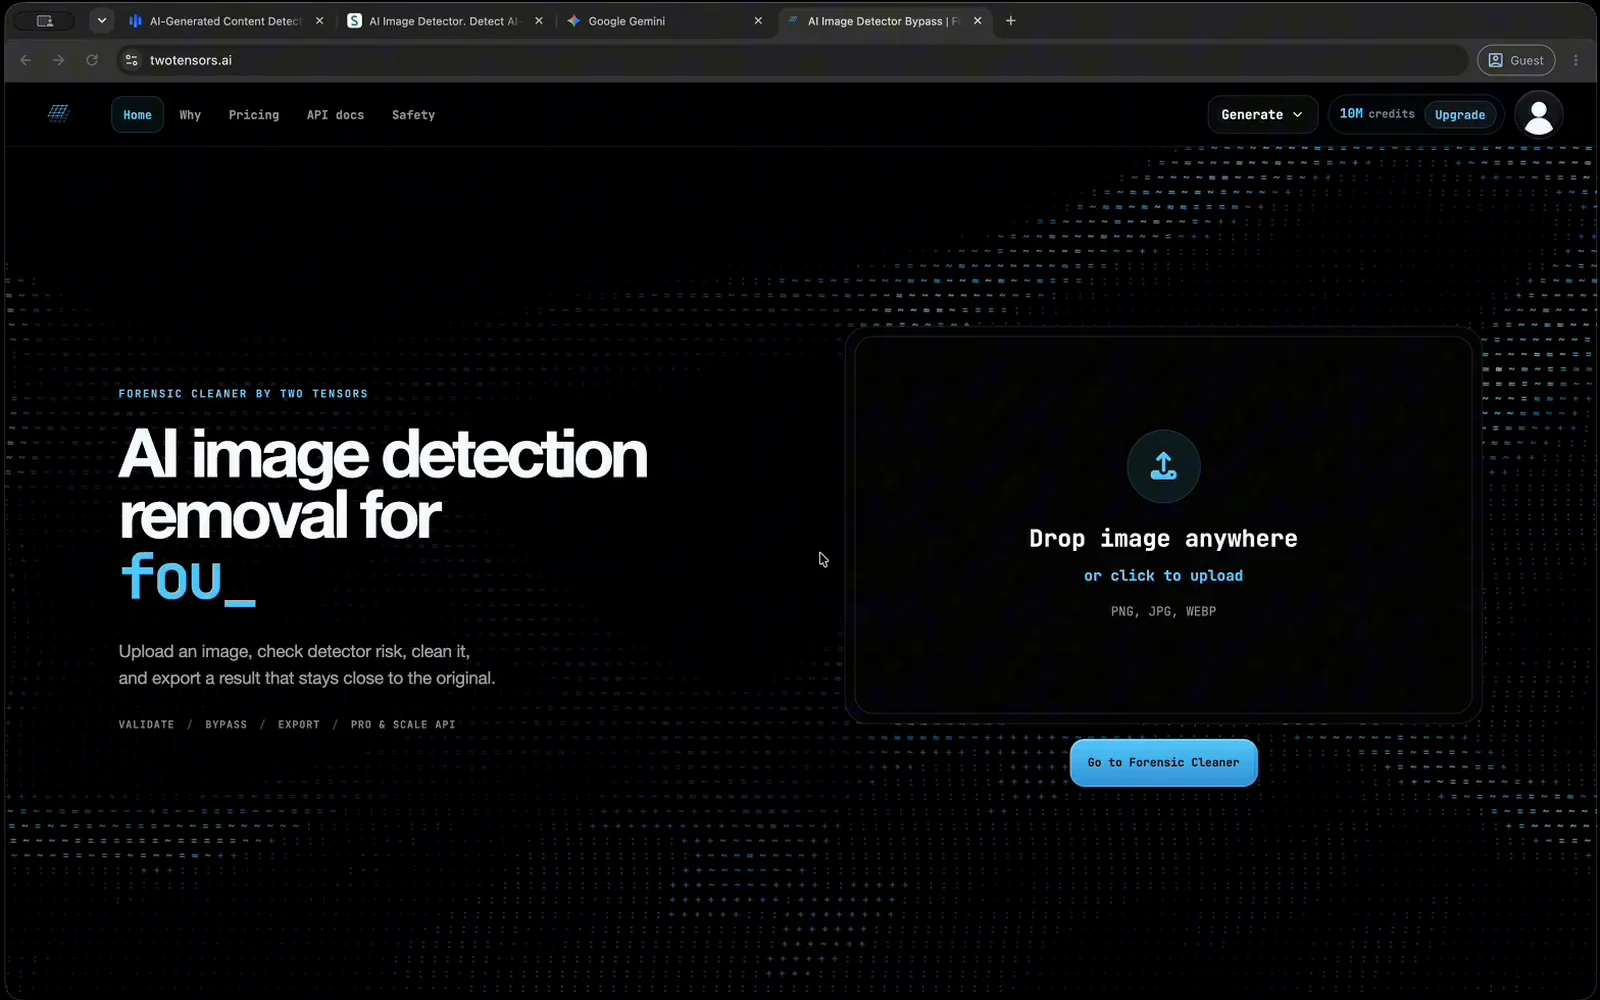
Forensic Cleaner by Two Tensors
How to Remove AI Detection
The whole Forensic Cleaner run, from sign in to export, with the settings that actually change your result and the fixes for the four ways it goes wrong.
The run, in nine steps.
Every clean follows the same order. The steps that change your result sit in the middle: the slop score you read before committing a credit, the strength you pick, and the resolution you export at.
-
Sign in and open the cleaner
Sign in with Google or with email, then open Forensic Cleaner. Runs happen inside your account because each one spends credits and writes its output to your history. A free account gets 10 credits a month and exports at up to 768px, which is enough to learn the workflow on your own images before paying for anything.
-
Upload an image you own
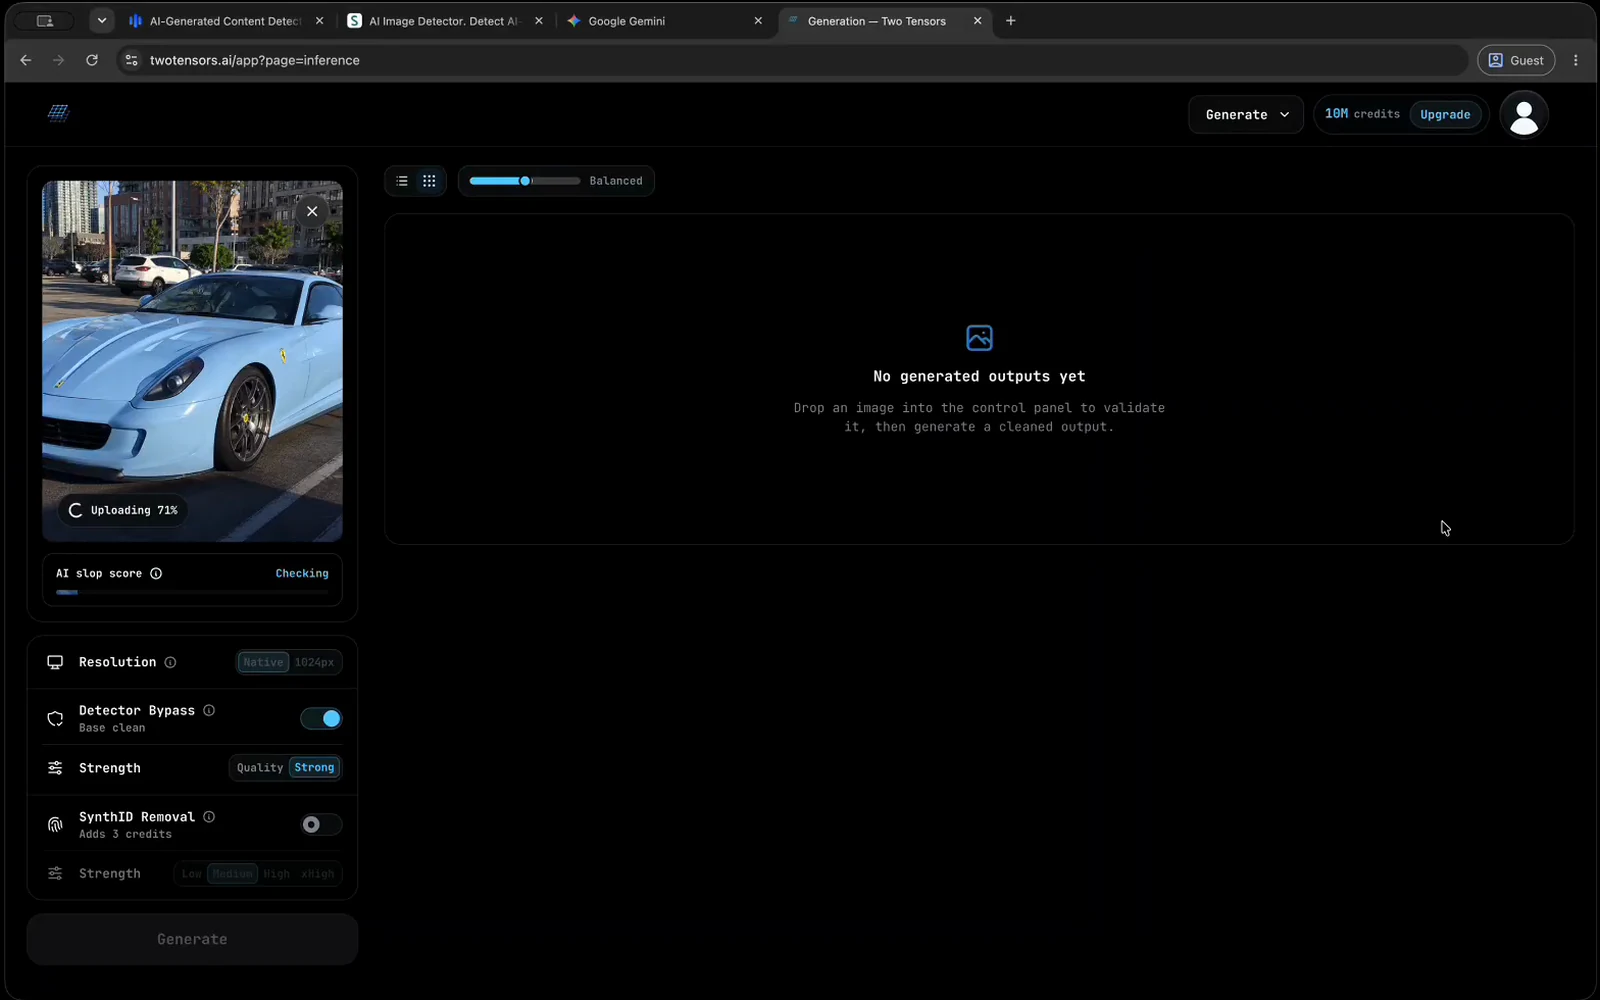
Choose a PNG, JPG, or WEBP you own or are licensed to process, and use the best copy of it you have. Files that have already been through several rounds of compression or heavy editing clean less predictably than an untouched original, so pull the source export rather than a re-saved copy.
-
Read the validation result
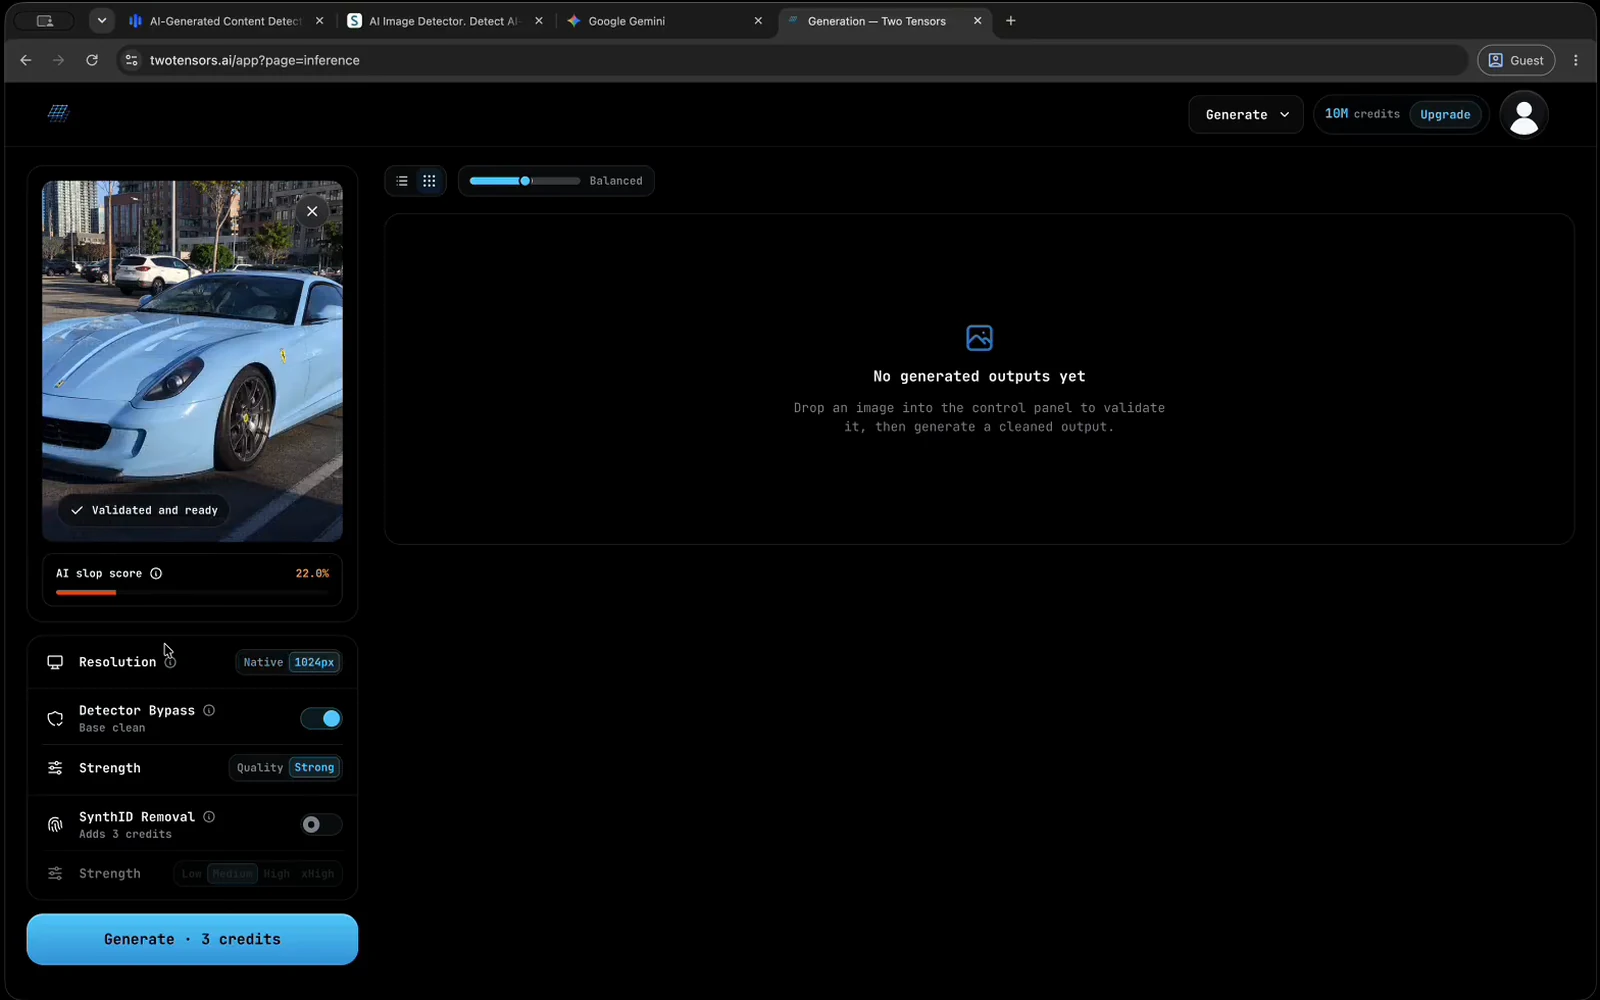
Validation runs first. It checks dimensions, applies the safety rules, and converts your file for processing. The conversion is lossless webp, which is also why the working copy carries no EXIF: metadata removal here is a side effect of the pipeline, not a dedicated tool. If a file is refused, validation says why and nothing is cleaned.
-
Read the AI slop score
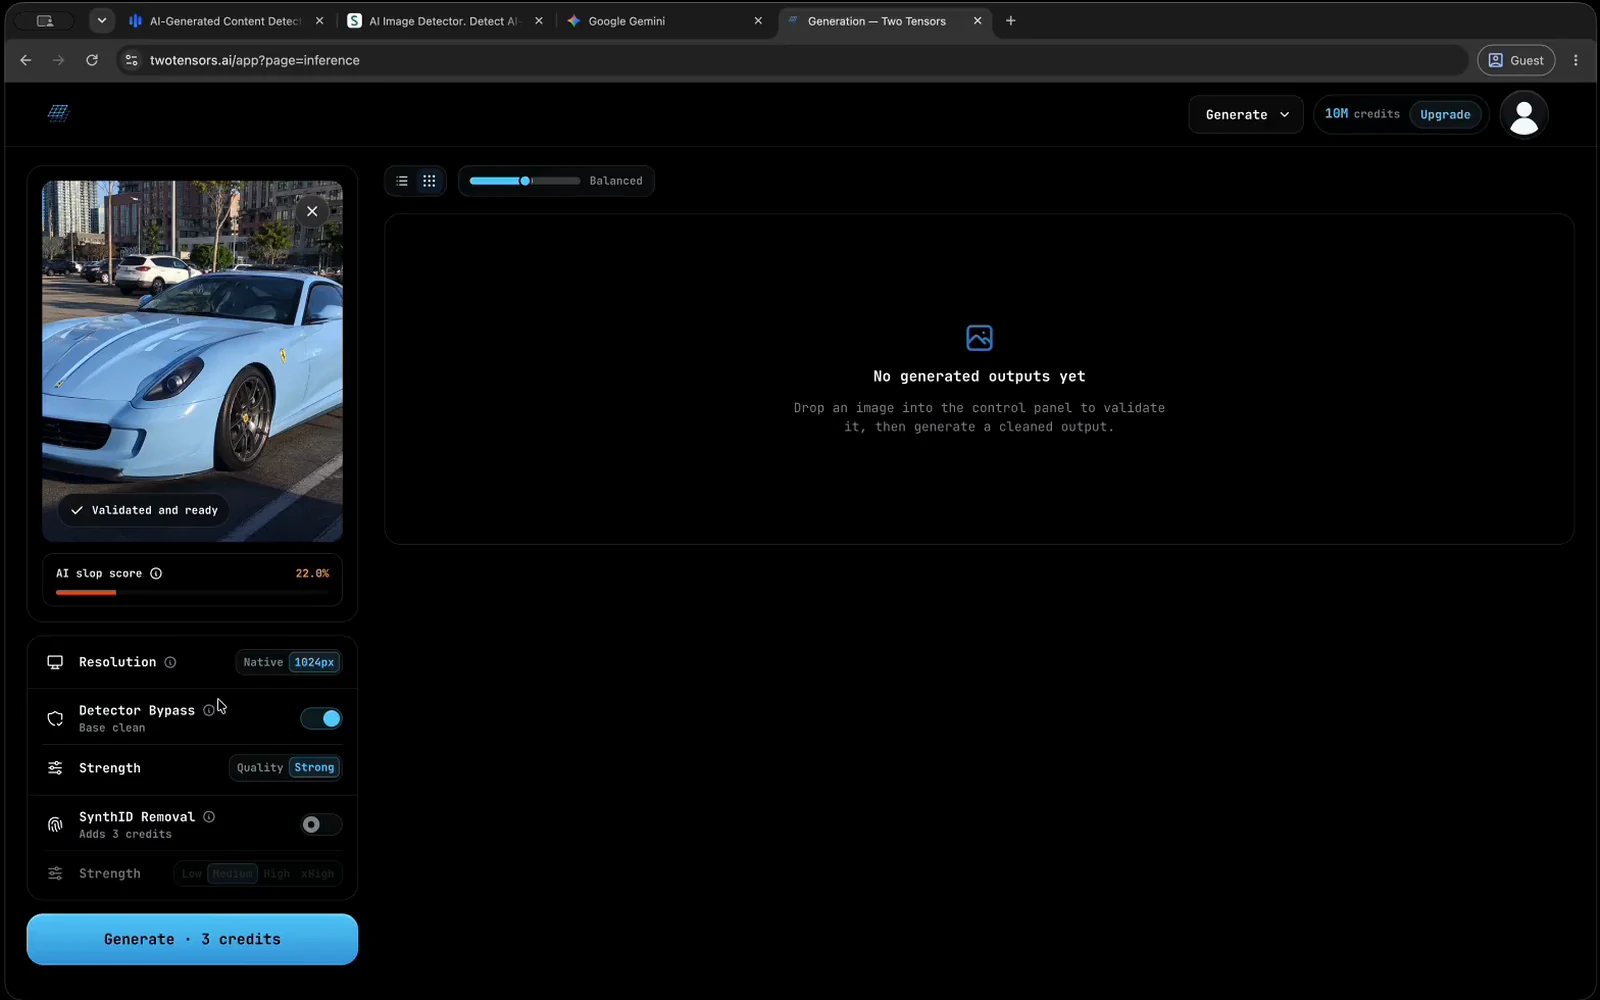
The slop score estimates how hard this particular image will be to clean, and it appears before you commit a credit. A low score usually means a straightforward job at ordinary settings. A high score is a warning to plan for Strong mode, a downscale, and probably more than one attempt.
-
Choose a cleaning strength
Strong is the more aggressive setting and the one to start with when the detector result is all that matters. Quality, available on paid plans, uses a gentler process, so the cleaning effect is less visible in the export. Faces are where the difference shows first, small or distant ones especially.
-
Set the output resolution
Free exports are capped at 768px and paid plans at 1024px, against a current ceiling of roughly 2 megapixels. Resolution is not only a size decision: several detectors react to resolution and compression as much as to image content, so the 1024px downscale can improve detector results and SynthID removal reliability.
-
Add SynthID removal if the image needs it
SynthID removal is a separate optional stage with its own strength control, not part of the standard clean. Medium is a reasonable place to start. If small or distant faces begin to distort, step the strength down; higher settings are more aggressive and cost more image quality.
-
Run the clean and compare it to the source
Compare the finished output against your original at full size before doing anything else. Smearing, grain, or a yellow, pink, or purple cast usually means the strength was too high for this image. Rerun in Quality mode or at a lower strength rather than accepting the first export.
-
Export the result
Cleaned outputs stay in your account history, where you can download or copy the file, mark it as a favorite, run it again with different settings, or delete it. Keep your own copy of anything you intend to reuse, because deleting a result removes it from the history for good.
The three settings worth thinking about.
Strong or Quality
Strong is the answer when the detector result is the only thing that matters: it reduces more signal, and on most images the difference is invisible at normal viewing size. Quality trades some of that reduction for a gentler effect on the pixels, which is what you want if the image will be printed, cropped in hard, or looked at closely. Quality is a paid-plan feature, so on the free tier the decision is already made for you.
How far to downscale
Detectors do not agree with each other. Some read the content of an image, others mostly react to resolution and compression, which is why a genuine photograph is sometimes flagged as generated. The 1024px option exists for that second group, and it is the first thing to try when a cleaned file still scores high. The bypass workflow page covers testing one export against several detectors, which is how you tell the two failure modes apart.
When SynthID removal earns its run
SynthID is a watermark that some Google image models embed, and clearing it is a different job from reducing detector signals, which is why it runs as its own stage. If your source did not come from a model that embeds it, the stage adds nothing. If it did, and the result still reads as watermarked, change the strength or apply the downscale before giving up on the image. The SynthID remover page covers that stage on its own.
These controls all live on the same screen, so changing one and running again does not mean starting over. Open the cleaner to see the current options against one of your own files.
When a run comes back wrong.
Four cases cover most of what goes wrong in this workflow, and each one has a different first move. None of them is a reason to re-upload the same file at the same settings.
The current ceiling is roughly 2 megapixels, with free exports capped at 768px and paid plans at 1024px. Higher resolutions are not available yet because of processing and GPU requirements. If the framing matters, resize or crop before uploading so you control what gets lost.
Retry once, because validation can stall on a temporary service issue. If it stalls again, report it with the exact error text, a screenshot, the file format and rough dimensions, whether you were using the web app or the API, and whether other images or devices are affected.
A high score is an estimate that the image is hard to clean, not a failure. Budget more than one run for it: Strong mode, then the 1024px downscale, then a careful comparison of the attempts. Some images stay difficult, and starting from a different source is often faster than a fifth run.
What the walkthrough does not promise.
In internal testing, Forensic Cleaner reached about a 90% clean rate across three popular AI image detectors. That figure comes from our own testing. It is not a guarantee, and it predicts nothing about any single image of yours. The workflow reduces detector-facing signals. It does not make an image undetectable, and it cannot promise that a particular detector or platform will accept the export.
Third-party detectors also change without notice, so settings that worked last month can need another pass today. Clean only images you own or are licensed to process. Impersonation, fraud, non-consensual imagery, and illegal use are not permitted.
Data handling is described in the Privacy Policy, and the full list of restrictions is in the Safety Guidelines.
FAQ
Questions about running the workflow.
Do I have to sign in before I can clean an image?
Yes. The cleaner runs inside your account because each job spends credits and writes its output to your history. A free account gets 10 credits a month and exports at up to 768px, which is enough to run the whole workflow end to end on your own images.
Can I skip validation and go straight to cleaning?
No. Validation is where dimensions and safety rules are checked and where the file is converted for processing, so every run passes through it. It is also the only place the AI slop score appears, and that score is the one piece of information worth reading before you spend a credit.
Should I clean the original or the edited version I plan to publish?
Clean the version you actually intend to publish. Cropping, filtering, or re-exporting after a clean changes the pixels the cleaner just adjusted, and a detector only ever sees the file you publish, not the cleaned intermediate sitting on your disk.
How many times can I rerun the same image?
As many times as your credits allow. Rerunning at a different strength is the normal way to work through a difficult image, and each attempt stays in your account history so you can compare the exports before picking one.
Does the walkthrough remove image metadata too?
The lossless webp conversion in the validation step drops the embedded EXIF as a side effect, so the working copy carries no camera or editor metadata. That is a consequence of how the pipeline handles files rather than a metadata tool, so do not rely on it if metadata removal is your main goal.
Is the workflow different through the API?
The stages are the same, and API access is included with Pro and Scale. The web app is the better place to learn the settings, because the slop score and the finished export are both in front of you while you decide what to change.
Can I clean a batch of images in one pass?
Not in the web app: there is no bulk upload, and how many jobs run at the same time depends on your plan. If you have a queue to work through, the API on Pro and Scale is the practical route.
Where to go next.
Related guides
- Bypass AI Image DetectionTesting an export against more than one detector.
- SynthID RemoverThe optional watermark stage, on its own.
- AI Detection RemoverWhat the cleaner changes in an image you own.
- Remove AI DetectionThe short version of this workflow.
- How to Get Rid of AIWhere signal reduction stops working.
- Why Bypass a DetectorThe case for controlling your own images.